介绍 Latex是如今写论文的必备工具,这是一篇关于Latex的使用教程
设备 macOS m2
教程 本地环境搭建 安装相关软件
发行版:下载MacTeX
编辑器:VS Code + LaTeX Workshop
编译引擎:XeLaTeX + biber (已经包含在MacTeX里面了)。
项目结构 1 2 3 4 5 6 7 8 9 10 paper/ ├─ main.tex ├─ references.bib ├─ sections/ │ ├─ intro.tex │ ├─ method.tex │ └─ results.tex ├─ figures/ │ └─ demo.png └─ latexmkrc
Visual Studio设置 Cmd/Alt + ,打开搜索设置
搜索 latex-workshop.latex.tools
在JSON中修改相关数据
1 2 3 4 5 6 7 8 9 10 11 12 13 "latex-workshop.latex.tools" : [ { "name" : "latexmk" , "command" : "/Library/TeX/texbin/latexmk" , "args" : [ "-synctex=1" , "-interaction=nonstopmode" , "-file-line-error" , "-pdf" , "%DOC%" ] } ]
相关文件配置 latexmkrc文件配置
1 2 3 4 5 6 7 8 $pdflatex = '/Library/TeX/texbin/xelatex -interaction=nonstopmode -synctex=1 %O %S' ;$bibtex = '/Library/TeX/texbin/biber %O %B' ;add_cus_dep('bib' ,'bbl' ,0 ,'biber' ); $aux_dir = 'build' ;$out_dir = 'build' ;$clean_ext .= ' %R.run.xml %R.bcf' ;
使用模版 mian.tex
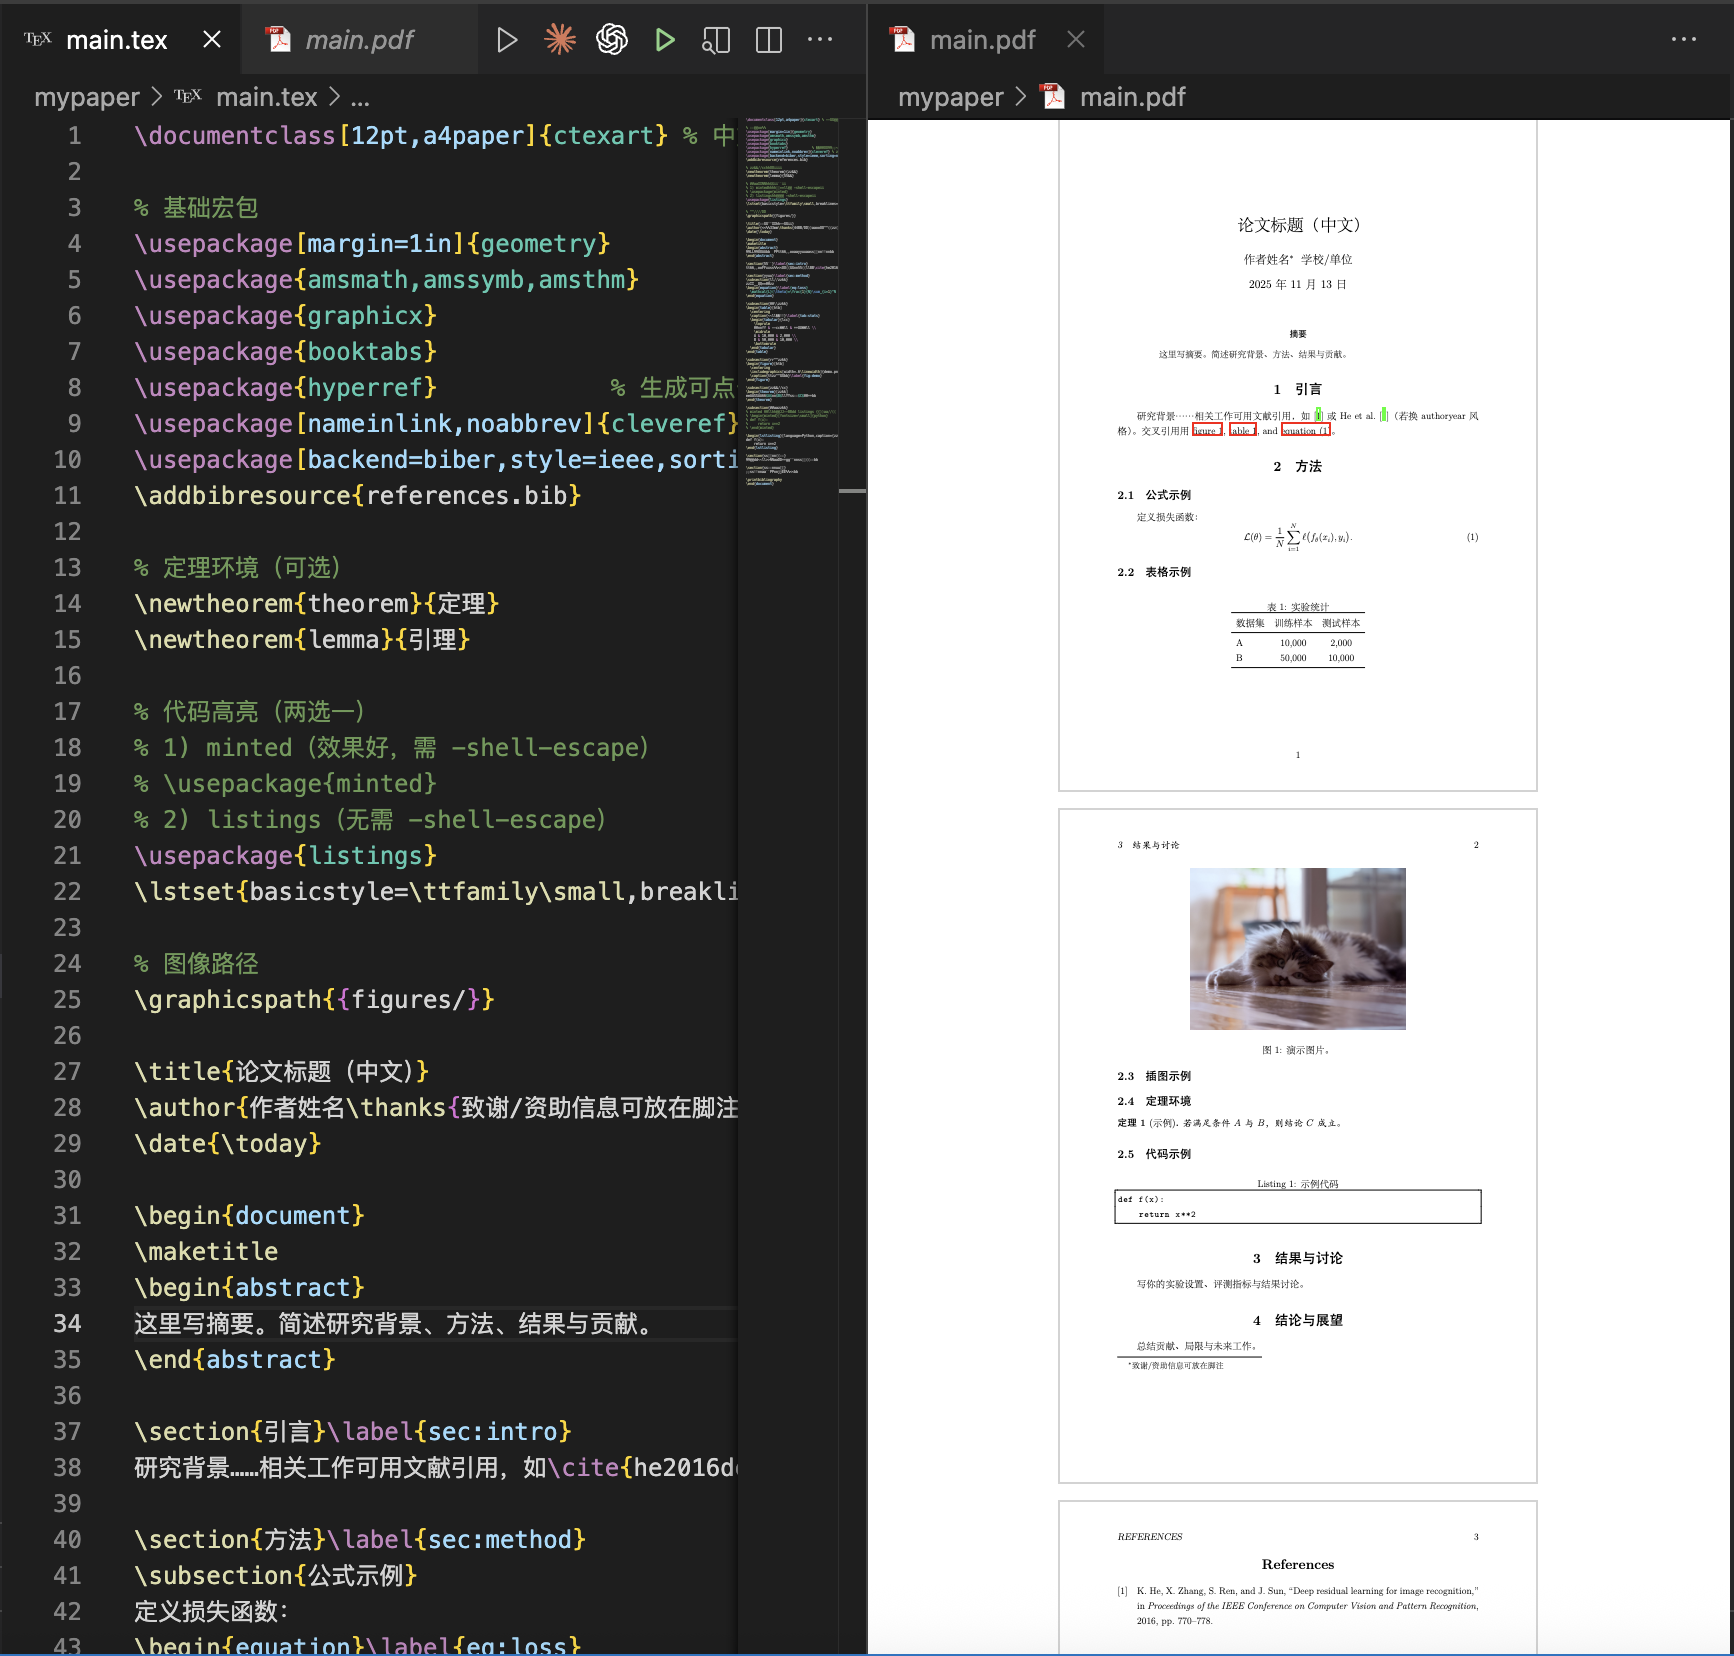
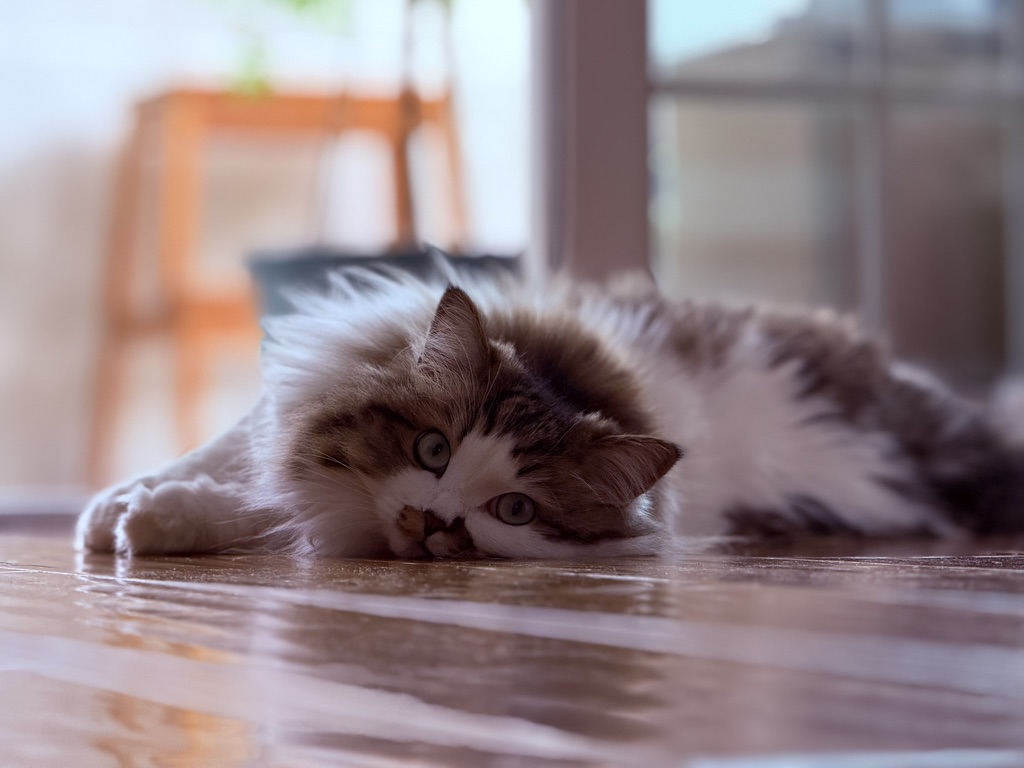
1 2 3 4 5 6 7 8 9 10 11 12 13 14 15 16 17 18 19 20 21 22 23 24 25 26 27 28 29 30 31 32 33 34 35 36 37 38 39 40 41 42 43 44 45 46 47 48 49 50 51 52 53 54 55 56 57 58 59 60 61 62 63 64 65 66 67 68 69 70 71 72 73 74 75 76 77 78 79 80 81 82 83 84 85 86 87 88 89 90 91 92 \documentclass [12pt,a4paper]{ctexart} \usepackage [margin=1in]{geometry}\usepackage {amsmath,amssymb,amsthm}\usepackage {graphicx}\usepackage {booktabs}\usepackage {hyperref} \usepackage [nameinlink,noabbrev]{cleveref} \usepackage [backend=biber,style=ieee,sorting=nyt]{biblatex} \addbibresource {references.bib}\newtheorem {theorem}{定理}\newtheorem {lemma}{引理}\usepackage {listings}\lstset {basicstyle=\ttfamily \small ,breaklines=true,frame=single}\graphicspath {{figures/}}\title {论文标题(中文)}\author {作者姓名\thanks {致谢/资助信息可放在脚注}\quad 学校/单位}\date {\today }\begin {document}\maketitle \begin {abstract}这里写摘要。简述研究背景、方法、结果与贡献。 \end {abstract}\section {引言}\label {sec:intro}研究背景……相关工作可用文献引用,如\cite {he2016deep} 或 \textcite {he2016deep}(若换 authoryear 风格)。交叉引用用 \cref {fig:demo,tab:stats,eq:loss}。 \section {方法}\label {sec:method}\subsection {公式示例}定义损失函数: \begin {equation}\label {eq:loss} \mathcal {L}(\theta )=\frac {1}{N}\sum _ {i=1}^ N \ell \big (f_ \theta (x_ i),y_ i\big ). \end {equation}\subsection {表格示例}\begin {table}[htb] \centering \caption {实验统计}\label {tab:stats} \begin {tabular}{lcc} \toprule 数据集 & 训练样本 & 测试样本 \\ \midrule A & 10,000 & 2,000 \\ B & 50,000 & 10,000 \\ \bottomrule \end {tabular} \end {table}\subsection {插图示例}\begin {figure}[htb] \centering \includegraphics [width=.6\linewidth ]{demo.png} \caption {演示图片。}\label {fig:demo} \end {figure}\subsection {定理环境}\begin {theorem}[示例]若满足条件$ A$ 与$ B$ ,则结论$ C$ 成立。 \end {theorem}\subsection {代码示例}\begin {lstlisting}[language=Python,caption={示例代码},label={lst:code}]def f(x): return x**2 \end {lstlisting}\section {结果与讨论}写你的实验设置、评测指标与结果讨论。 \section {结论与展望}总结贡献、局限与未来工作。 \printbibliography \end {document}
references.bib
1
2
3
4
5
6
7
@inproceedings{he2016deep, title = {Deep residual learning for image recognition}, author = {He, Kaiming and Zhang, Xiangyu and Ren, Shaoqing and Sun, Jian}, booktitle = {Proceedings of the IEEE Conference on Computer Vision and Pattern Recognition}, pages = {770--778}, year = {2016} }
最后在figures文件夹中添加一个名为demo.png的图片即可
成果 最后在main.tex文件中点击右上角的箭头即可
最后pdf会在左侧显示
云端使用 相关网站 前往Overleaf 官网注册登陆即可
点击 “New Project → Blank Project ”(或 “Upload Project” 上传模板 ZIP)。